Quick Start - Try the Asset Tokenization Studio
Quick start guide to run the Asset Tokenization Studio web application.
Note: All examples in this guide use Hedera Testnet. Replace endpoints, keys, and network names with your target network as needed.
Prerequisites
- Node.js: v20.19.4 or newer
- npm: v10.9.0 or newer
- Hedera Account: Testnet or mainnet account with HBAR
- Hedera Wallet:
- MetaMask (connects directly), or
- HashPack, Blade, or other wallets (connect via WalletConnect)
Installation
Clone the Repository
git clone https://github.com/hashgraph/asset-tokenization-studio.git
cd asset-tokenization-studio
ATS Configuration
Create Environment File
cp apps/ats/web/.env.example apps/ats/web/.env
Configure Environment Variables (Optional)
Edit apps/ats/web/.env:
WalletConnect Configuration (Optional)
Required only if using HashPack, Blade, or other non-MetaMask wallets. You need a Reown project ID (https://reown.com/):
# Get your project ID from https://cloud.walletconnect.com
REACT_APP_PROJECT_ID=your_project_id_here
Note: MetaMask connects directly and does not require WalletConnect configuration.
Build ATS
Run this single command from the monorepo root to install dependencies and build everything:
npm run ats:setup
This will automatically install dependencies, build contracts, and build the SDK.
Running the Application
npm run ats:web:start
The application will be available at http://localhost:4173/
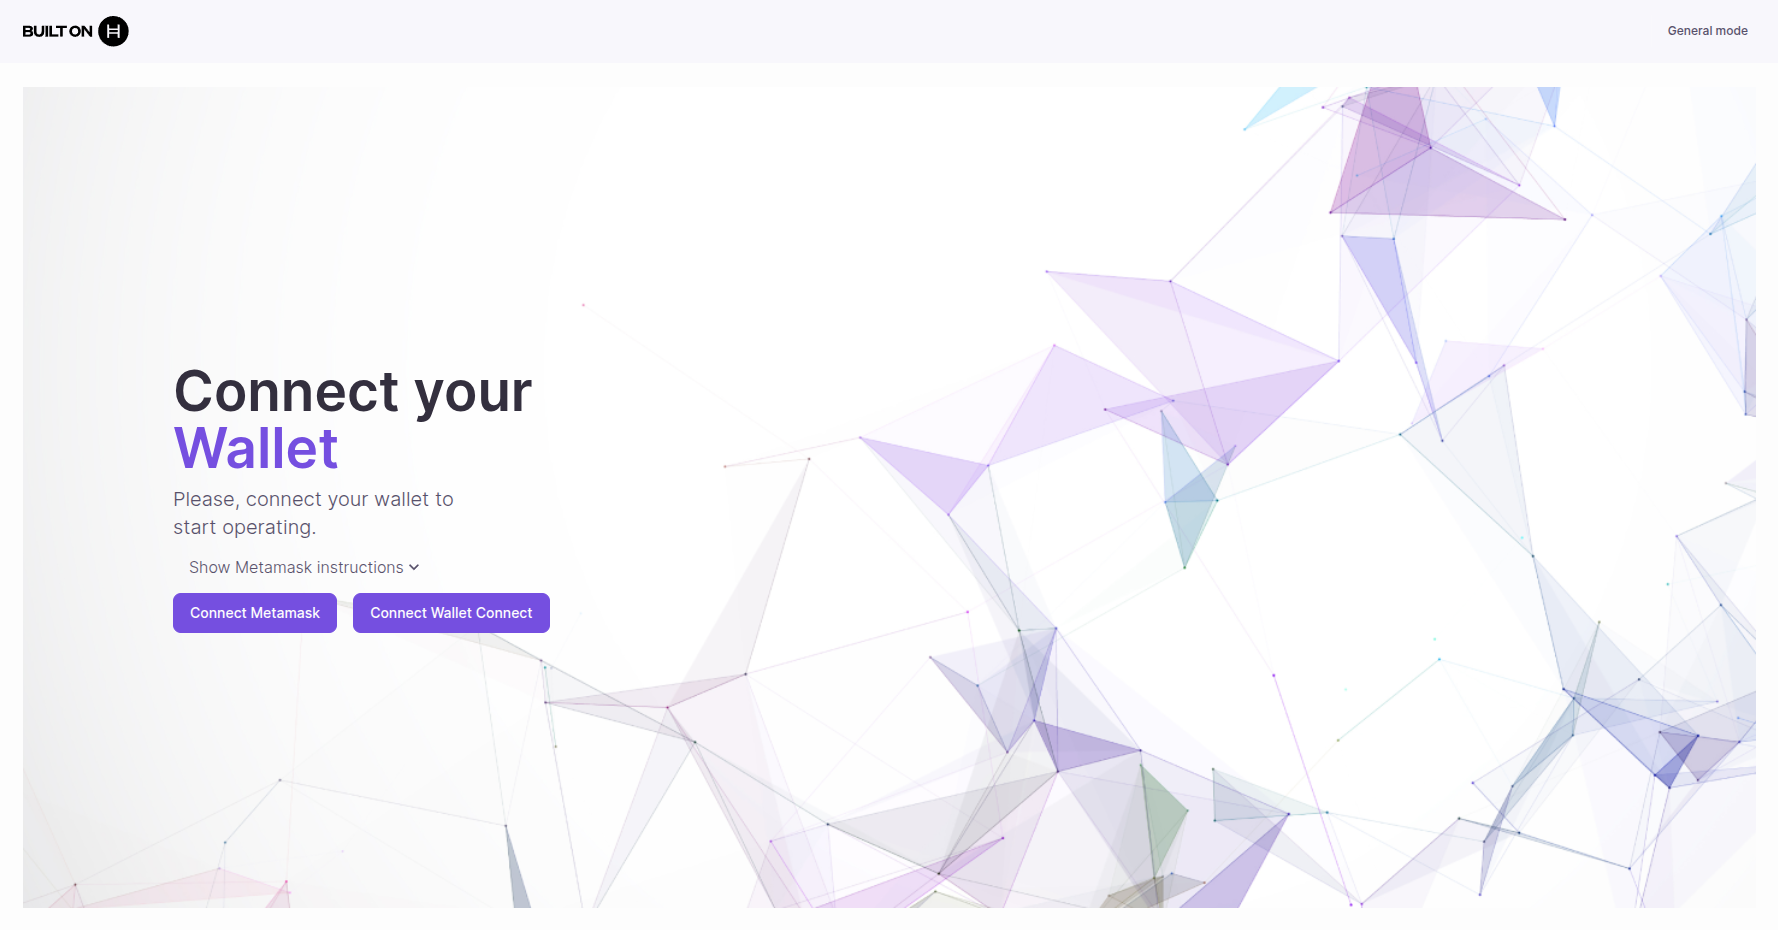
Application Interface
Once running, you'll see the ATS web application:
First Steps
1. Connect Your Wallet
- Click "Connect Wallet" in the top right
- Select your preferred wallet:
- MetaMask: Click "Connect with MetaMask" (direct connection)
- Other wallets: Select HashPack, Blade, or other WalletConnect-compatible wallets
- Approve the connection request
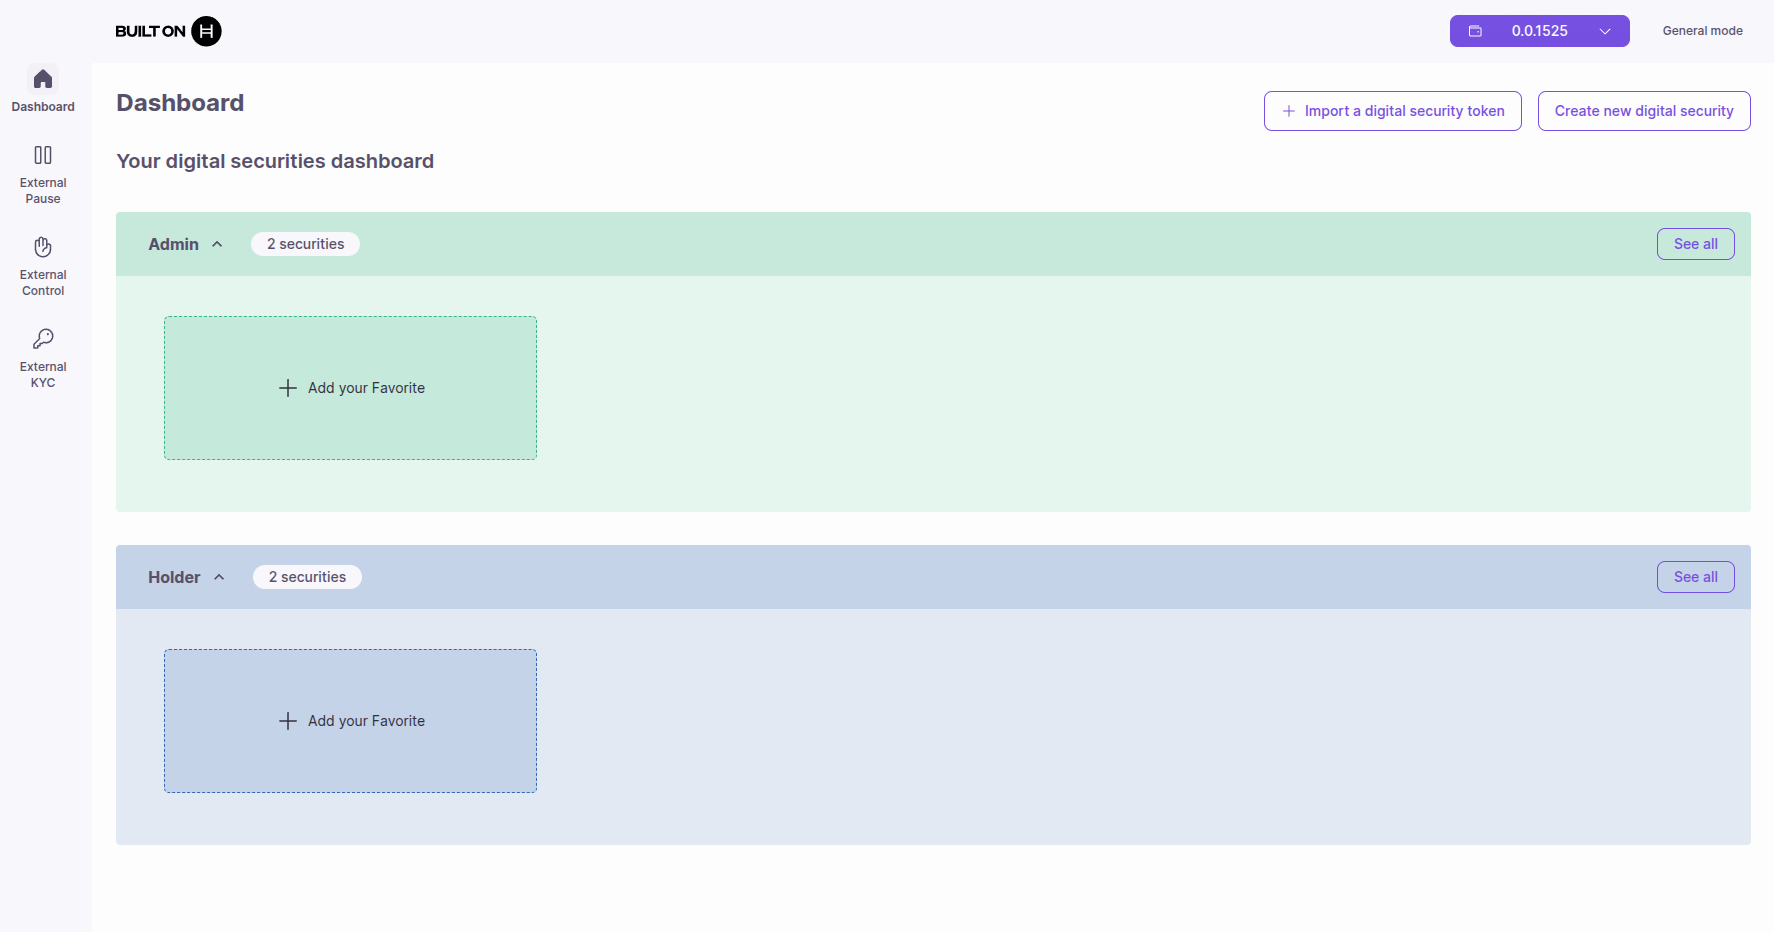
2. Select Your View: Admin or Holder
ATS provides two operating modes:
- Admin View (green): For token issuers and administrators to manage tokens, perform corporate actions, and configure settings
- Holder View (blue): For token holders to view their balances and transfer tokens
You can switch between views from the dashboard by clicking the view selector.
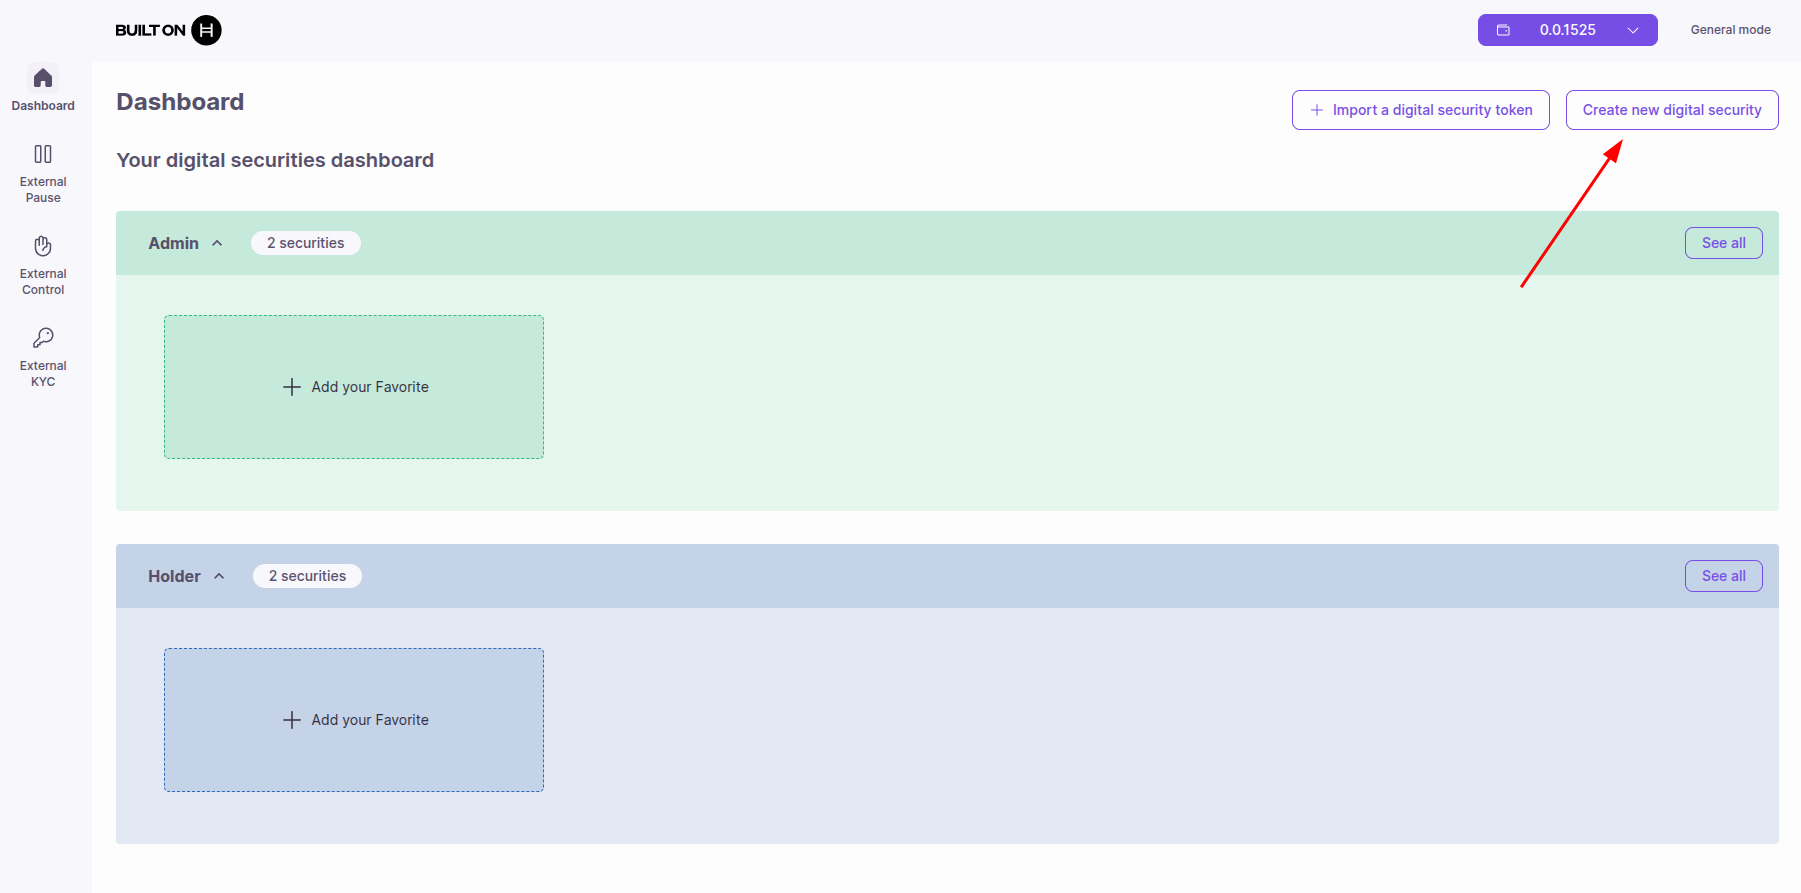
3. Create a Security Token
- Navigate to "Create Token"
- Choose token type: Equity or Bond
- Fill in token details (name, symbol, supply)
- Configure compliance settings (KYC, transfer restrictions)
- Deploy the token
4. Manage Your Tokens
Once you've created tokens, you can manage them from the dashboard:
Selecting a Security Token
To perform operations on a security token, you must first select it:
- From "See All" button: Click "See All" to view all your tokens, then select the one you want to work with
- From Favorites panel: If you've marked a token as favorite, you can quickly select it from the favorites panel on the dashboard
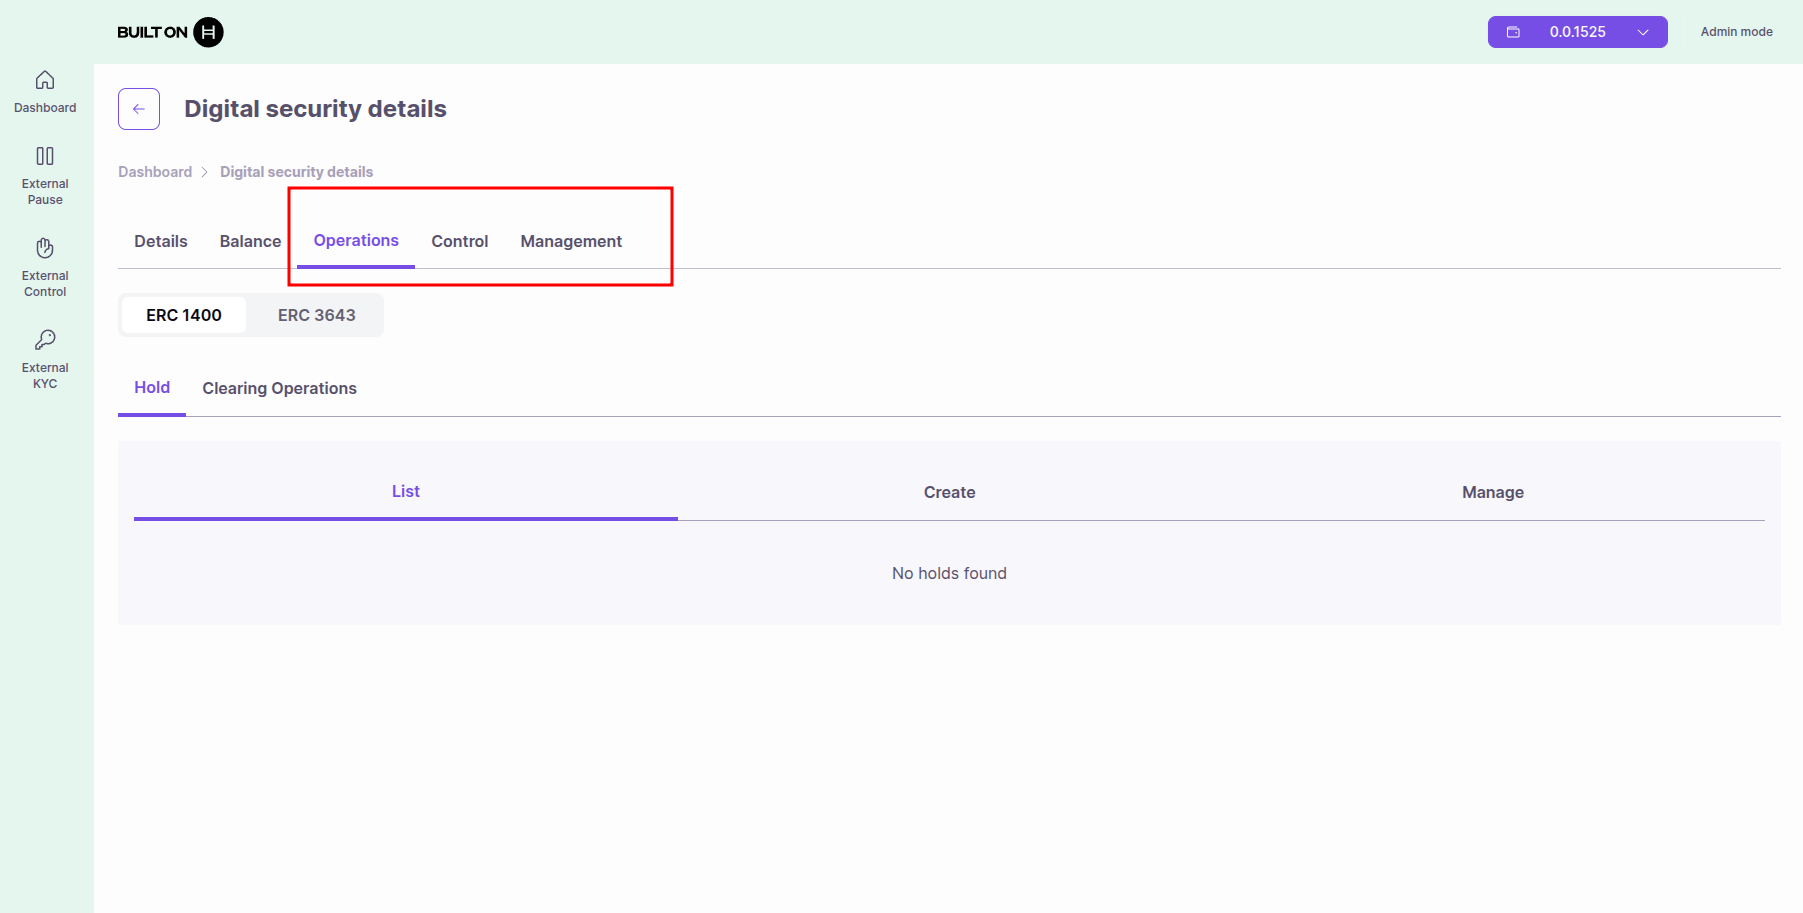
Available Operations
Once security is selected, you can:
- View all tokens
- Perform operations
- Manage token holders and permissions
Available operations appear in tabs. The tabs you see depend on your assigned role:
Troubleshooting
Port Already in Use
# Kill process on port 4173
lsof -ti:4173 | xargs kill -9

# Or change port in vite.config.ts
Build Errors
# Clean and rebuild
npm run ats:clean
npm run ats:build
Wallet Connection Issues
- Ensure your wallet extension is installed and unlocked
- Check that you're connected to the correct network (testnet/mainnet)
- MetaMask: Connects directly without WalletConnect
- HashPack/Blade/Other wallets: Verify your WalletConnect project ID is configured in
.env
MetaMask: "Selected Account is not a Hedera account"
If you see this error when connecting MetaMask, you need to add the Hedera network to MetaMask:
For Hedera Testnet:
- Open MetaMask
- Click on the network dropdown (top left)
- Click "Add Network" → "Add a network manually"
- Fill in the following details:
- Network Name: Hedera Testnet
- RPC URL:
https://testnet.hashio.io/api - Chain ID:
296 - Currency Symbol: HBAR
- Block Explorer URL:
https://hashscan.io/testnet
- Click "Save"
- Switch to the Hedera Testnet network
- Try connecting again
For Hedera Mainnet:
- Use the same steps as above with these details:
- Network Name: Hedera Mainnet
- RPC URL:
https://mainnet.hashio.io/api - Chain ID:
295 - Currency Symbol: HBAR
- Block Explorer URL:
https://hashscan.io/mainnet
Note: This error can also occur if the mirror node is not correctly configured in your .env file. Verify the REACT_APP_MIRROR_NODE environment variable is set correctly.
Contract Not Found
- Verify contract IDs in
.envare correct - Ensure contracts are deployed to the network you're using
- Check that the Business Logic Resolver and Factory are properly configured
Next Steps
- User Guides - Learn how to create tokens and manage corporate actions
- Developer Guides - Learn about the architecture and advanced features
- API Documentation - Explore contract APIs