Managing External KYC Lists
Learn how to configure and manage external KYC lists for investor identity verification across multiple tokens.
Overview
External KYC lists are on-chain smart contracts that provide centralized KYC (Know Your Customer) verification for your security tokens. They allow you to:
- Manage KYC-verified investors across multiple tokens
- Share KYC verification between different securities
- Integrate with external compliance providers
- Maintain compliance state independently from token contracts
What are External KYC Lists?
External KYC lists verify investor identity and accreditation status:
- Purpose: Centralized KYC verification for multiple tokens
- Benefits: Reusable across different securities, easier to maintain
- Interface: Implements
IExternalKycList.isGranted(address) - Use case: When managing multiple tokens with the same investor base
Key Difference from Internal KYC
- Internal KYC: Each token maintains its own KYC registry
- External KYC: Shared KYC registry used by multiple tokens
- Flexibility: Tokens can use internal, external, or both
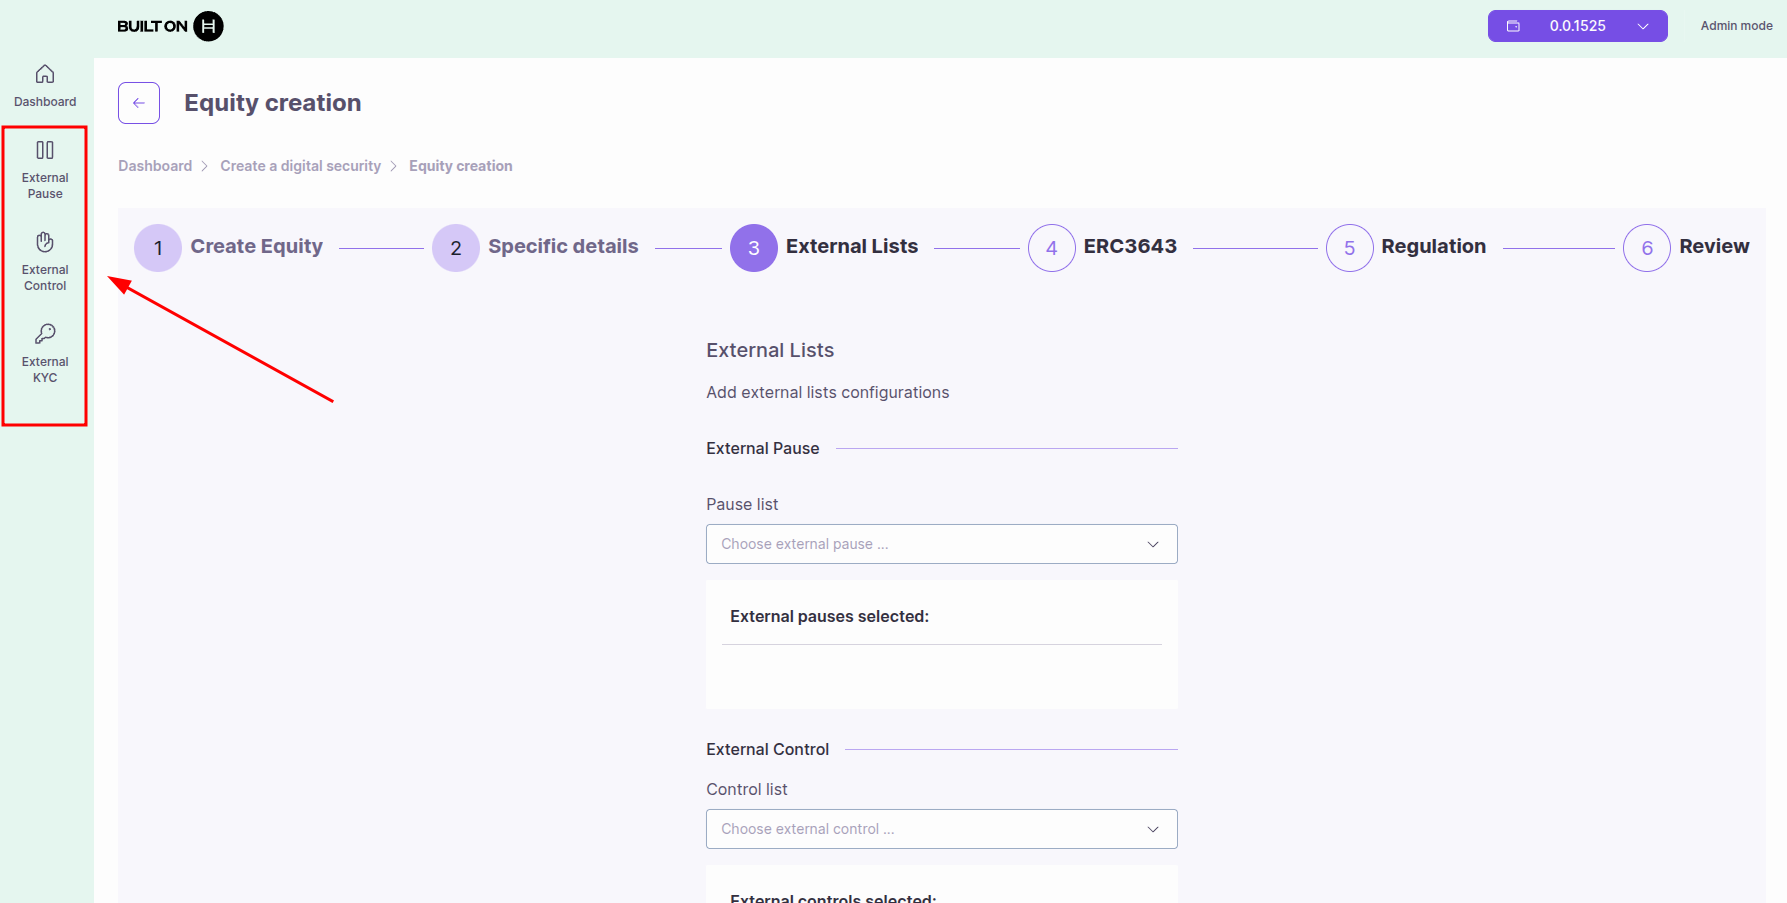
Accessing External KYC Lists
- Navigate to the ATS web application
- Click on "External KYC" in the sidebar menu
Creating or Importing External KYC Lists
You have two options to add an external KYC list:
Option 1: Create New KYC List
Creates a new external KYC list by deploying a smart contract automatically.
Steps:
- Click "Create" button
- Provide list details:
- List Name: Descriptive name (e.g., "US Accredited Investors")
- Description (optional): Purpose and coverage of this list
- Click "Deploy" or "Create"
- Approve the transaction in your wallet
- The contract is deployed and appears in your External KYC list
What happens:
- A new external KYC contract is deployed on-chain
- You become the manager of this KYC list
- The contract address is displayed (0x... or 0.0.xxxxx)
- You can now add investors and link this list to your tokens
Option 2: Import Existing KYC List
Use an existing external KYC list by importing its contract ID.
Steps:
- Click "Import" button
- Enter the Contract ID: Hedera contract ID (0.0.xxxxx) or EVM address (0x...)
- Click "Import"
- Approve the transaction in your wallet
- The external KYC list appears in your list
Use cases:
- Use a KYC list deployed by another team member
- Connect to a third-party KYC provider's list
- Share KYC lists across multiple organizations
Note: When importing, you may have view-only access unless you have admin permissions on the imported contract.
Linking External KYC Lists to Tokens
After creating or importing an external KYC list, you need to link it to your security tokens.
Steps:
- Navigate to your security token from the dashboard
- Go to the "Control" tab
- Select the "External KYC" section
- Click "Add External KYC" button
- Select the external KYC list from the dropdown
- Click "Add" to confirm
- Approve the transaction in your wallet
Required Role: You must have KYC_MANAGER_ROLE on the token to link external KYC lists.
Managing KYC List Members
Once you have created or imported a KYC list, you can manage investors in it.
Viewing Accounts
To view all accounts in the KYC list:
- Navigate to the external KYC list from the sidebar
- Select the list you want to view
- Click the magnifying glass icon (🔍)
- View the list of all accounts in this KYC list
Adding Members
To add an account to the KYC list:
- Navigate to the external KYC list
- Click the user with plus icon (👤➕)
- Enter the account address (Hedera ID or EVM address)
- Click "Add"
- Approve the transaction
Removing Members
To remove an account from the KYC list:
- Navigate to the external KYC list
- Click the user with minus icon (👤➖)
- Enter the account address to remove
- Click "Remove"
- Approve the transaction
Deleting the KYC List
To delete an entire external KYC list:
- Navigate to the external KYC list
- Click the trash icon (🗑️)
- Confirm the deletion
- Approve the transaction
Important: When you delete an external KYC list, it will be automatically removed from all security tokens that are using it. This affects all linked tokens immediately.
Managing Multiple KYC Lists
Using Multiple External KYC Lists
A token can use multiple external KYC lists simultaneously:
- An investor is considered verified if they appear in any linked KYC list
- Example: Combine "US Investors" list with "EU Investors" list
- All lists are checked via
isExternallyGranted()function
How Verification Works
When checking if an investor is KYC verified:
- Internal KYC checked first (if
internalKYCActivatedis true) - External KYC lists checked (any grant wins)
- SSI credentials checked (if configured)
- Result: Investor passes if any method grants KYC
Required Roles
To manage external KYC lists:
- KYC_MANAGER_ROLE: Add/remove external KYC lists from token
- DEFAULT_ADMIN_ROLE: Full administrative access
For the external KYC list contract itself:
- Contract deployer controls who can add/remove investors
See the Roles and Permissions Guide for details.
Smart Contract Interface
External KYC list contracts must implement:
interface IExternalKycList {
  function isGranted(address account) external view returns (bool);
}
Returns:
true: Account is KYC grantedfalse: Account is not KYC granted
Best Practices
Security
- Regular audits: Review list members periodically
- Role separation: Different admins for KYC management
- Transaction verification: Always verify addresses before adding
Compliance
- Documentation: Maintain off-chain records of KYC verification
- Revocation process: Have clear procedures for revoking KYC
- Data privacy: External lists only store addresses and status, not PII
Performance
- Batch operations: Use bulk import for large lists
- Pagination: Query large lists in pages to avoid timeouts
- Shared lists: Reuse KYC lists across multiple tokens to reduce costs
Troubleshooting
List Not Recognized
If your token doesn't recognize an external KYC list:
- Verify the list contract address is correct
- Ensure the list is properly linked to the token
- Check that you have KYC_MANAGER_ROLE
- Verify the list contract implements
IExternalKycListinterface
KYC Status Not Updating
- Confirm the transaction was successfully mined
- Check that you have the required role
- Verify the investor address format is correct
- Ensure the external list is active (not removed)
Transaction Failed
- Insufficient HBAR: Ensure wallet has enough for gas fees
- Permission denied: Verify you have the required role (KYC_MANAGER_ROLE)
- Invalid address: Check address format and checksum
- Already added: KYC list may already be linked to token
Use Cases
1. Multi-Token KYC Management
Scenario: Issuer has 10 different equity tokens
Solution:
- Create one external KYC list
- Link to all 10 tokens
- Manage KYC in one place
Benefits: Single source of truth, reduced management overhead
2. Regulatory Compliance
Scenario: Financial regulator maintains approved investor list
Solution:
- Regulator deploys external KYC list
- Issuers link their tokens to regulator's list
- Regulator updates list as needed
Benefits: Automatic compliance with regulatory changes
3. Third-Party KYC Provider
Scenario: Use external KYC verification service
Solution:
- KYC provider deploys external KYC list
- Provider updates list based on their verification
- Tokens link to provider's list
Benefits: Professional KYC verification, reduced liability
Next Steps
- Managing External Control Lists - Whitelists and blacklists
- SSI Integration Guide - Use Terminal 3 for decentralized identity
- Roles and Permissions - Understand access control
- Managing Compliance - Overall compliance strategy